300x600
Homemade Italian Bread
Prep Time
3 hrs
Cook Time
45 mins
Total Time
3 hrs 45 mins
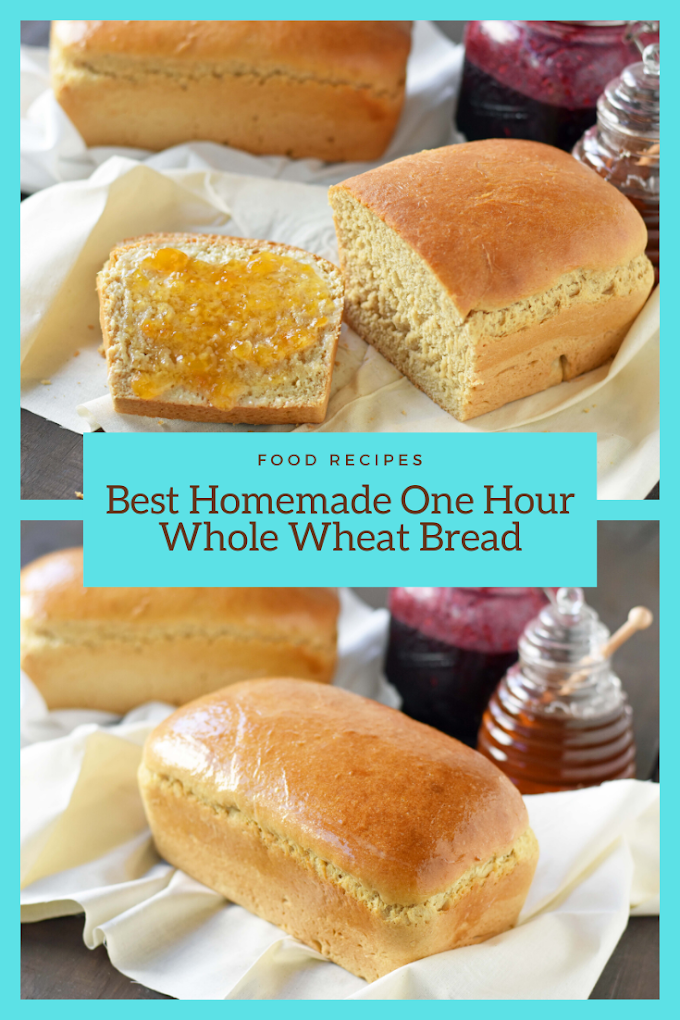
Making Homemade Italian Bread is easier than you think!
Course: Bread
Cuisine: Italian
Keyword: easy, homemade bread, italian bread
Calories: 114 kcal
Ingredients
Dough
- 3 cups all-purpose flour (use up to four cups if needed; see notes)
- 2 1/4 teaspoons instant yeast (see notes if using active dry yeast)
- 2 teaspoons granulated sugar
- 2 teaspoons salt
- 1 tablespoon olive oil
- 1 1/4 cups warm water
For Serving:
- olive oil (optional)
US Customary - Metric
Instructions
- Add three cups of flour and the remaining dough ingredients to the bowl of a stand mixer, if you have one. Otherwise, use a large mixing bowl.
- If using a stand mixer with dough hooks, start the machine on "stir," then switch to a low speed to knead the dough for six minutes.
- If kneading by hand, stir with a spoon, then knead the dough on a clean, floured work surface for at least six minutes.
- After a couple minutes of kneading in your mixer or by hand, check to see if the dough is sticky. Touch it with your fingertips and pull them away.
- If there is dough residue on your fingertips, you need to add more flour. Add 1/4 cup extra flour and knead some more.
- Check again to see if the dough is still sticky. If so, add more flour, 1/4 cup at a time, until your dough comes together in a smooth ball and isn't sticky. It should pull away from the inside of the bowl of your stand mixer.
- When you are done kneading, grease your mixing bowl with cooking spray (you can use the same bowl without cleaning it first.) Place your ball of dough in the greased bowl and roll it around to coat it a bit with the oil.
- Cover the bowl with plastic wrap and let the dough rise for two hours at room temperature.
- After two hours, peel back the plastic and gently punch down the dough. Cover the bowl again with the plastic wrap and let the dough rise for another 40 minutes.
- When your dough is almost done rising, preheat your oven to 425 degrees F. Make a steam bath so your crust will be crispier. Fill a 9x13 metal pan or cast iron pan halfway with hot water. (Avoid using a glass pan, if possible, because it could shatter.) Wearing oven mitts, place the pan with the hot water on the bottom rack of your oven.
- When the dough is risen, place it onto a half sheet pan lined with parchment paper or a silicone baking mat. (If you have neither, you can lightly grease your pan with cooking spray.)
- Shape your dough into a loaf about 10 inches long and four inches wide. Use a straight-edged knife to score the dough (make a long vertical slit or horizontal slits along the surface of the dough) to allow venting. Place the pan with your dough on the middle rack of your oven.
- Bake initially for 10 minutes at 425 F.
- Lower your oven temperature to 400 degrees F, and bake your bread for 30-35 minutes more. Check if your bread is done by removing the pan from the oven. Wearing gloves, flip over the loaf. Take off one glove and tap the underside of the bread with your fingertips. If the bread sounds hollow, it is done. If not, bake it a little more.
- When the bread is done, let it cool on a wire rack until it's no longer hot. Slice the bread and serve with oil, salt and pepper for dipping, if you wish.
- Store the bread at room temperature, wrapped in plastic and then placed in a brown bag. It is best eaten by the next day or so for freshness. If you wish, you can slice the loaf and freeze it in a freezer bag.
Recipe Notes
The amount of flour you need will depend on the humidity that day. Start with 3 cups of flour, and if the dough is sticky, add 1/4 cup extra flour at a time until the dough comes together in a smooth ball and isn't sticky. You shouldn't need more than 4 cups of flour total.
If using active dry yeast, you'll need to proof it first to activate it. In a small mixing bowl, mix the warm water with the yeast and a pinch of sugar. Wait about 10 minutes, until the mixture foams and bubbles. Then add it to the mixing bowl with the remaining ingredients. If your yeast doesn't foam and bubble during that time, the yeast won't work, so you'll need to buy fresher yeast.
This article was adapted from site


0 Comments